Mika Micky Bassinet Assembly Instructions Simplified: A Step-by-Step Guide
Assembling a bassinet can seem daunting at first, especially for new parents juggling numerous tasks and emotions. Fear not! This comprehensive guide aims to simplify the process of putting together your Mika Micky Bassinet, ensuring a hassle-free assembly experience that lets you focus on what matters most—your little one’s comfort and safety.
Unpacking and Preparation
Before diving into the assembly, find a clear, flat surface where you can spread out all the parts and tools included in the package. It’s essential to have ample space to work and ensure no pieces go missing. Lay out the instruction manual, all components, and the included hardware. Familiarize yourself with each part, taking note of screws, bolts, and any pre-assembled sections. If you notice any missing or damaged pieces, contact Mika Micky’s customer service promptly.
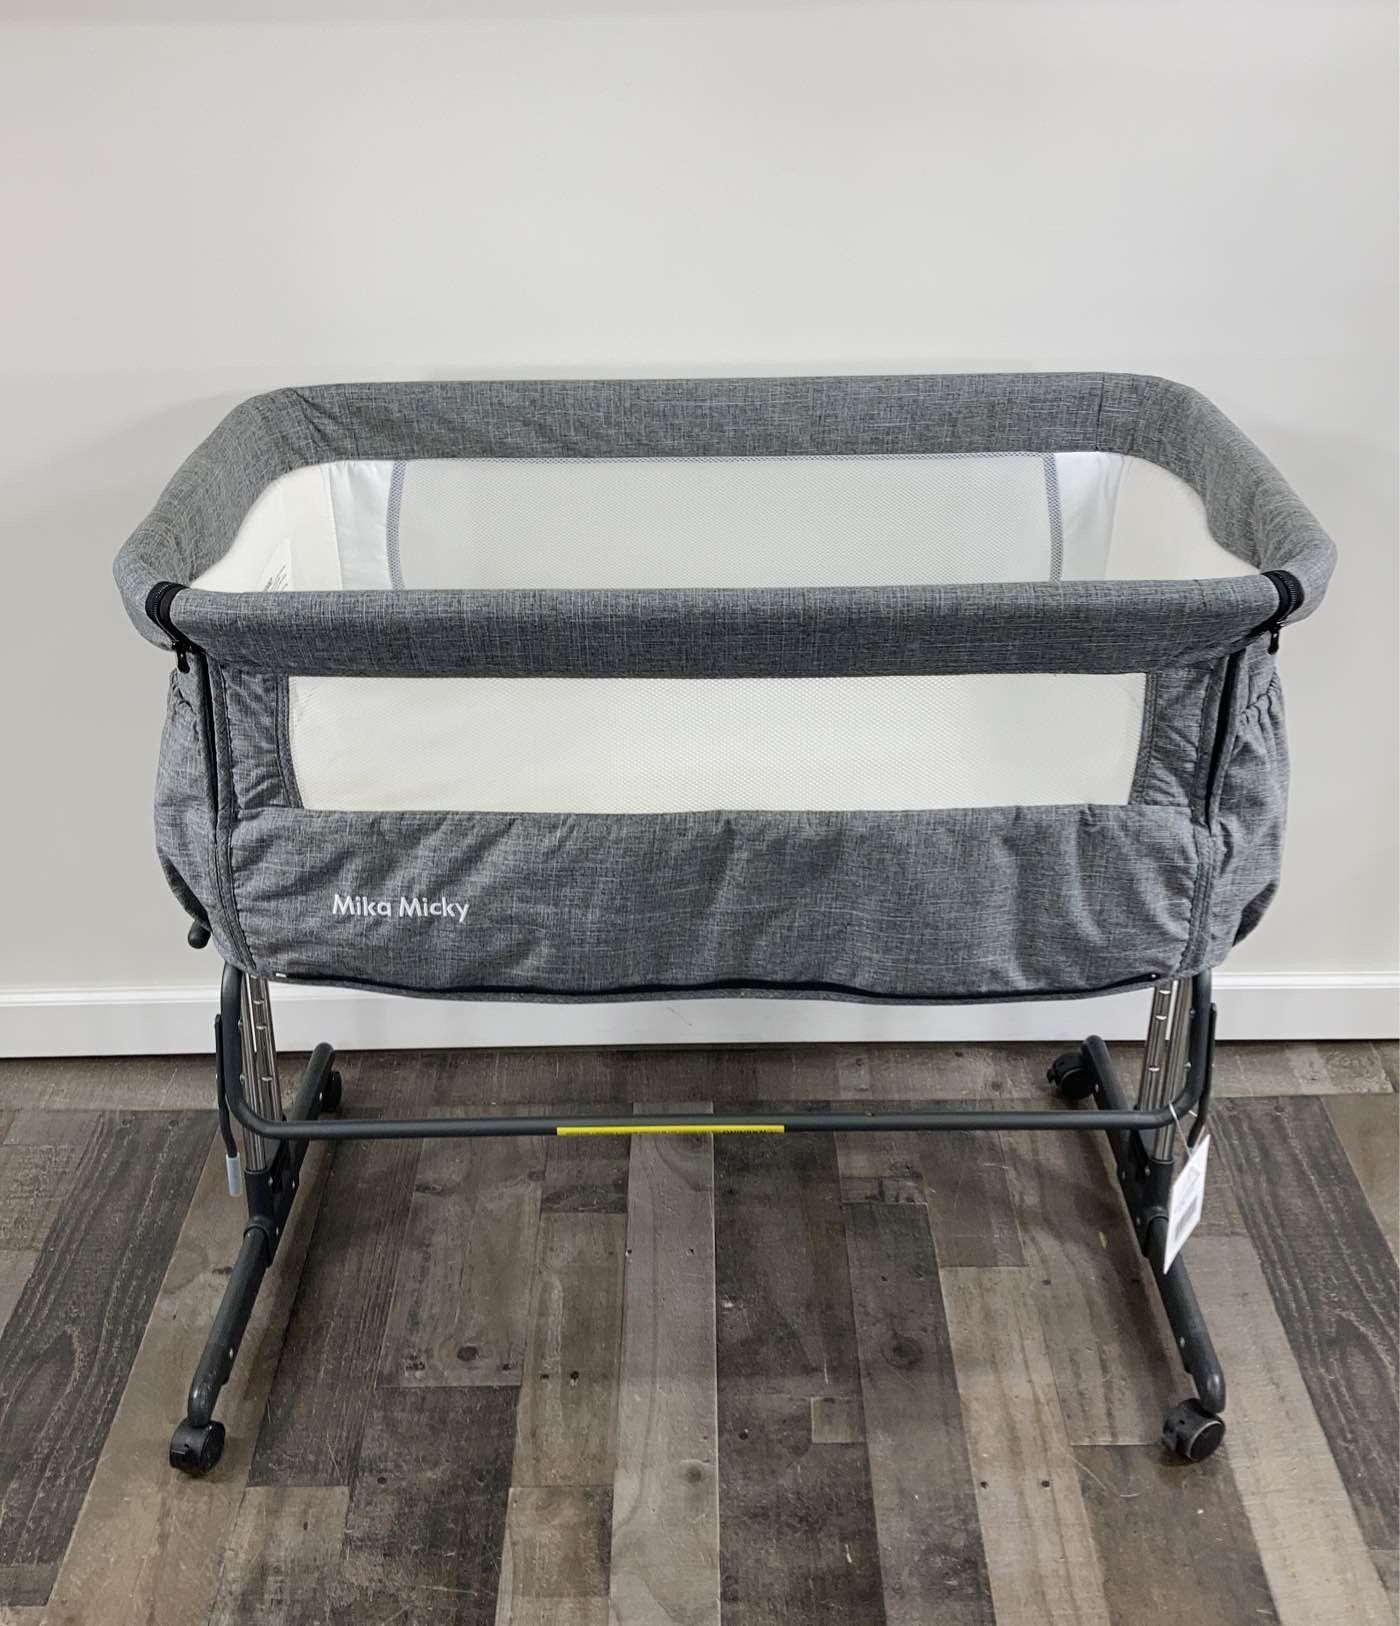
Assembling the Bassinet Frame
Begin by constructing the main frame of the bassinet. Typically, this involves connecting the side rails using the provided screws and bolts. Align the holes carefully, ensuring a snug fit before tightening the screws. Use the included Allen wrench or screwdriver for this step, applying gentle but firm pressure to avoid stripping the threads. Once the sides are connected, attach the head and foot ends, following the instructions for proper orientation. Ensure all connections are secure but avoid overtightening to prevent warping the frame.
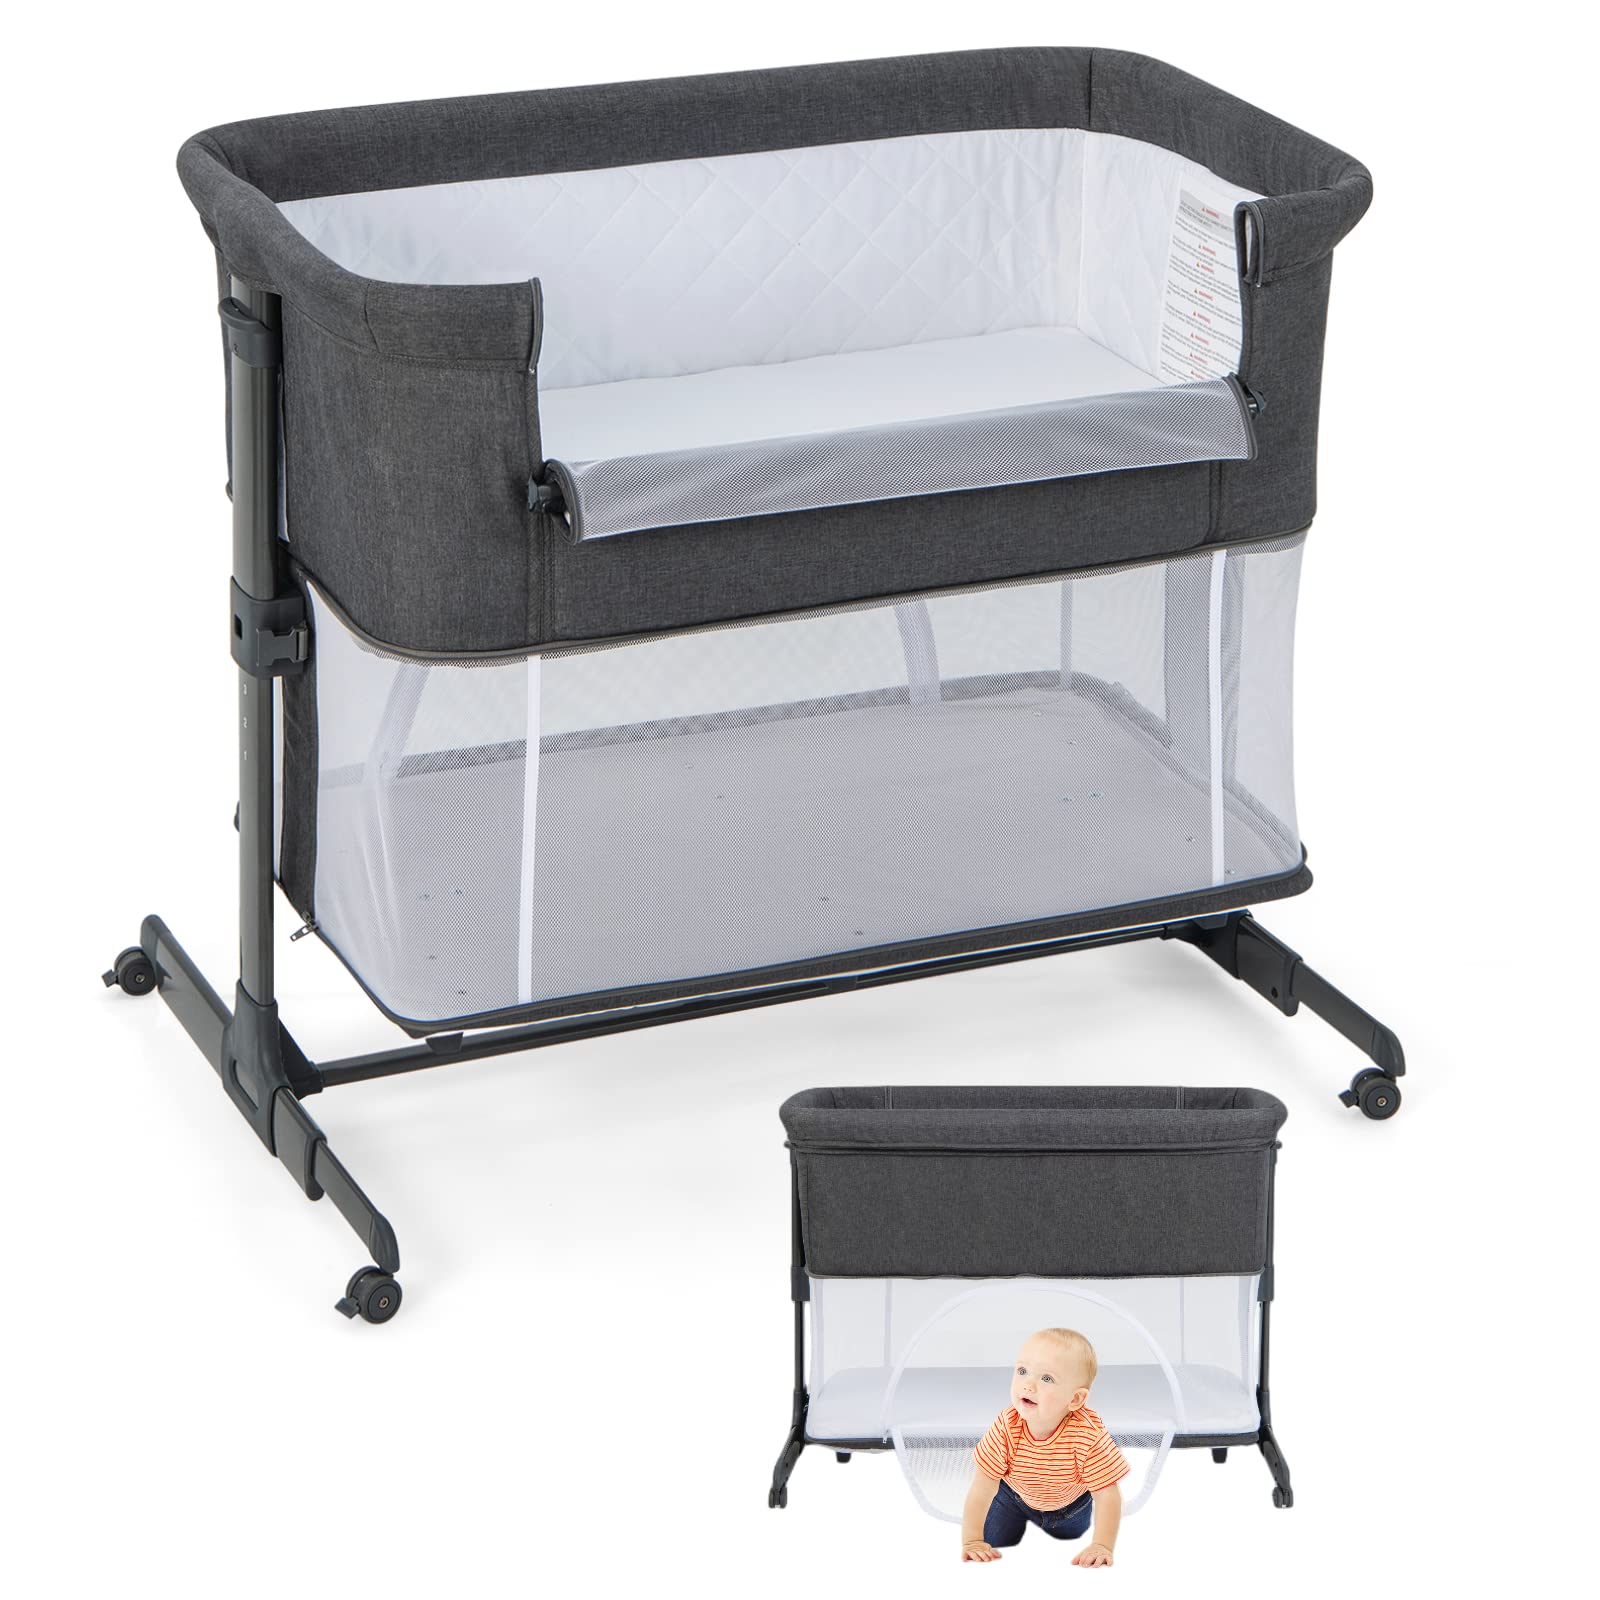
Attaching the Mattress Support
With the frame fully assembled, the next step is to install the mattress support. This usually consists of sliding metal bars or fabric straps that span the width of the bassinet. Follow the manual’s guidance to affix these supports securely to the frame, making sure they are evenly spaced for stability. The mattress support should be level and capable of holding the weight of the mattress and your baby safely.
Installing the Canopy and Other Accessories
Many Mika Micky bassinets come equipped with a canopy to protect your baby from bright lights or drafts. To attach it, slide the canopy rods into the designated sockets atop the bassinet frame. Secure them in place using the provided clips or screws, if applicable. Adjust the canopy height according to your preference, ensuring it does not obstruct your view of the baby. At this stage, you may also add any additional accessories such as hanging toys or a mobile, following their specific installation instructions.
Fitting the Fabric Cover and Sheets
After the frame and canopy are set up, dress your bassinet with the fabric cover. This usually slips over the frame and fastens with zippers, Velcro, or ties. Take care to align the cover neatly, smoothing out any wrinkles for a tidy appearance. Once the cover is in place, lay the mattress on top of the support, followed by fitted sheets designed for your Mika Micky bassinet. Ensure the sheets fit snugly to prevent any loose fabric from posing a risk to your baby.

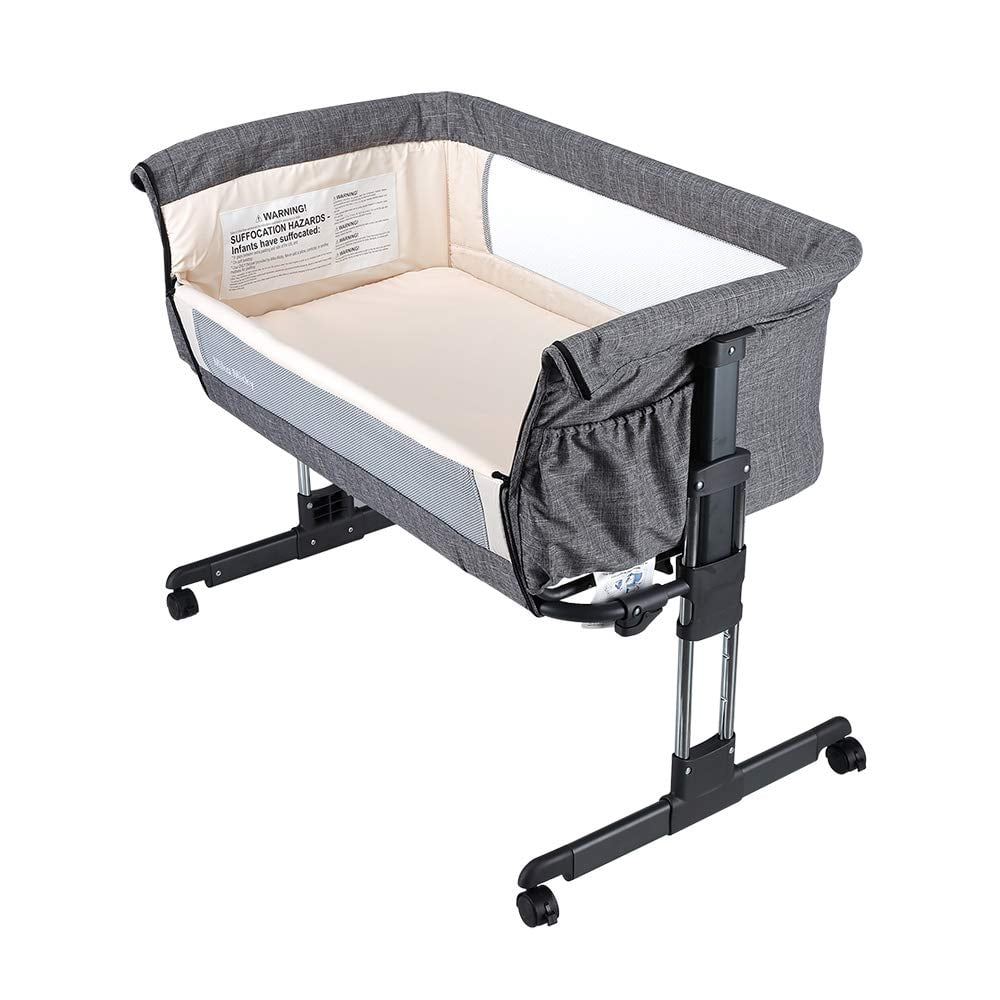
Finishing Touches and Safety Checks
Before placing your baby in the newly assembled bassinet, conduct a thorough safety check. Verify that all connections are tight, there are no sharp edges or protruding hardware, and the structure feels stable without wobbling. Check that the canopy is secure and won’t collapse onto your baby. Inspect the mattress to confirm it fits snugly within the frame and is at the correct height—ideally, your baby should sleep on a firm, flat surface to reduce the risk of SIDS (Sudden Infant Death Syndrome).
Additional Tips for Easy Assembly
- Work in a well-lit area to avoid misplacing parts or struggling with visibility.
- Enlist the help of a partner, if possible, especially when handling larger components.
- Take breaks if needed; assembling a bassinet can be a physical task, and it’s important to stay refreshed.
- Keep small children and pets away from the assembly area to prevent accidents.
- Save the packaging and instruction manual until the assembly is complete and you’re satisfied with the result. This makes returning or exchanging parts, if necessary, much easier.
Installing the Canopy and Other Accessories
After securing the mattress support, proceed to attach the canopy. Most Mika Micky bassinets come with a canopy designed to provide shade and create a cozy environment for your baby. Unfold the canopy and locate the attachment points on the top corners of the bassinet frame. Secure the canopy using the provided hooks, Velcro straps, or screws, ensuring it’s fastened tightly but can still be adjusted easily when needed.
If your model includes additional accessories like storage pockets or a toy mobile, now is the time to install them. Follow the manual’s specific instructions for each accessory, attaching them to the designated spots on the bassinet frame. Make sure any hanging items, like a mobile, are securely fastened and positioned out of reach of your baby to avoid potential hazards.
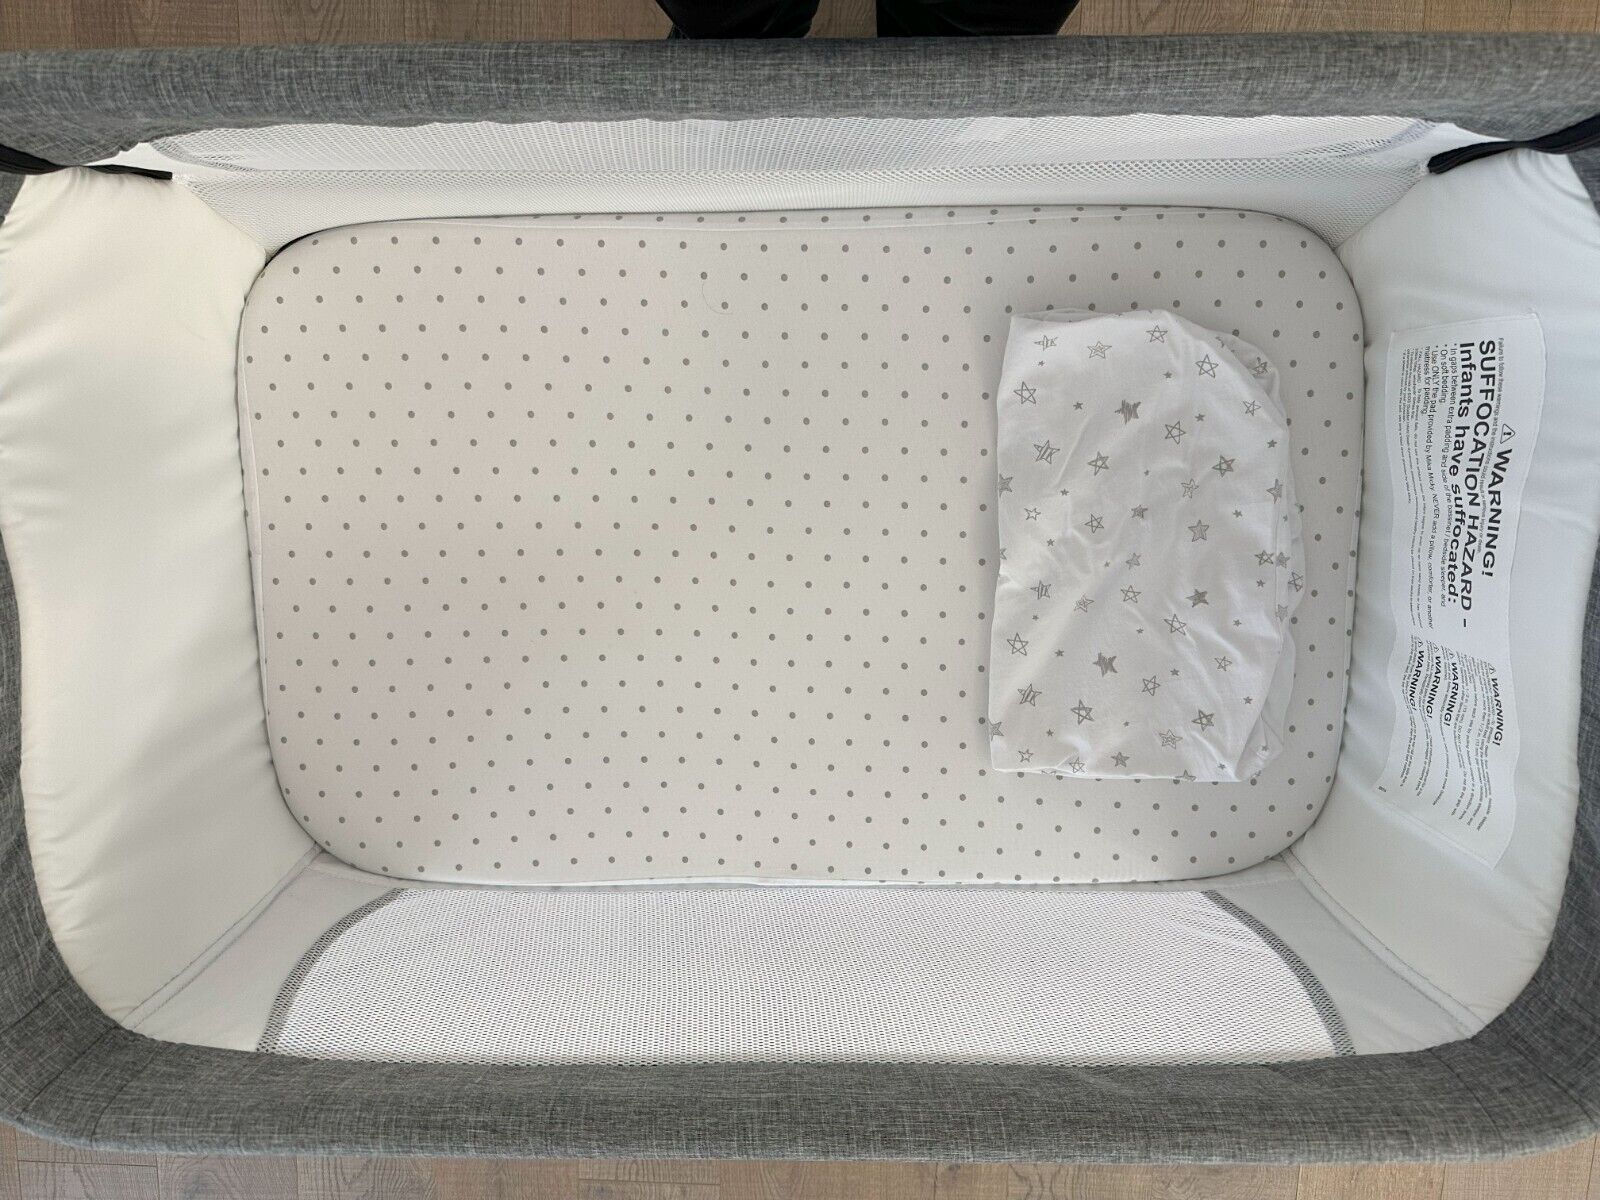
Adding the Mattress and Bedding
With the structure complete, lay the mattress onto the support. Ensure it fits snugly within the frame, with no gaps where your baby could get trapped. Use only the mattress provided or one recommended by Mika Micky to guarantee a safe and comfortable fit.
Dress the bassinet with the bedding set, starting with the fitted sheet over the mattress. Ensure the sheet is tight to prevent wrinkles or bunching, which can pose a suffocation risk. Add any blankets or bumpers according to the manufacturer’s guidelines and safety recommendations. Remember, for newborns, it’s often advised to keep the sleeping area free of loose bedding and toys.
Conclusion: Enjoying Your Mika Micky Bassinet
Completing the assembly of your Mika Micky Bassinet not only prepares a cozy nest for your newborn but also instills confidence in your parenting skills. Remember, the process might seem complex initially, but by following these simplified steps, you’ll have a beautifully assembled bassinet that provides a safe and comfortable haven for your little one. With your new bassinet ready, you can now focus on cherishing those precious early moments with your baby, knowing they have a secure and nurturing space to sleep and grow.