Introduction to Graco Baby Beds
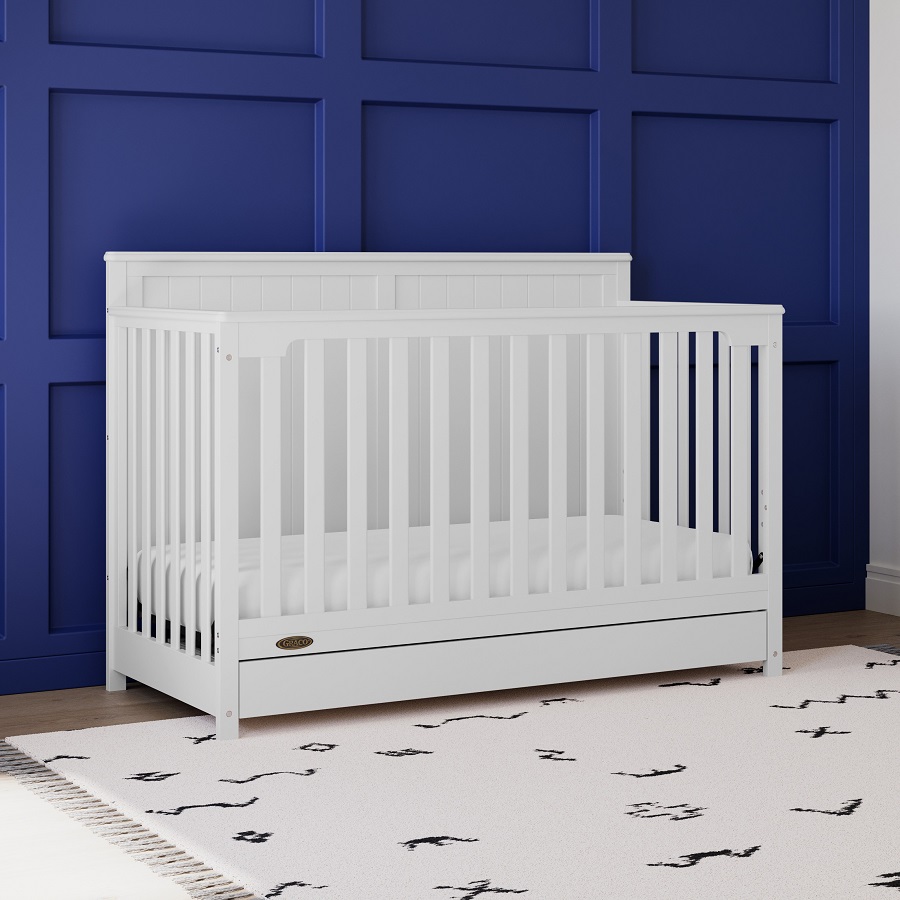
Graco baby beds are known for their durability and safety. Parents trust them for their little ones’ comfort and protection. These beds come in various styles to suit any nursery design. They feature user-friendly designs for hassle-free assembly. Their popularity has led to Graco becoming a leading brand in baby furniture. In this guide, we’ll take you through the steps to set up your Graco baby bed.
Before starting, understand the importance of following the instructions carefully. Proper assembly ensures the bed’s stability and your baby’s safety. We’ll cover the tools you’ll need and each step in detail. From unboxing to the final safety check, we aim to make the process smooth for you. Whether you’re a new parent or experienced, this guide will help you set up your Graco baby bed with ease.
Essential Tools for Assembly
Before you start assembling your Graco baby bed, make sure you have all the essential tools readily available. Having the right tools can make the assembly process quicker and prevent any damage to the parts. Here’s what you’ll typically need:
- Screwdriver: A Phillips-head screwdriver is usually required for most of the screws. Ensure it’s the right size to avoid stripping the screw heads.
- Allen Wrench: Some Graco baby bed models come with hex bolts, so an allen wrench may be included in the package or you will need to have one on hand.
- Hammer: You might need a small hammer for tapping in any wooden dowels or to adjust components gently into place.
- Level: Using a level can help make sure the bed is perfectly horizontal, which is vital for the safety and comfort of your baby.
- Measuring Tape: To measure distances between screws and ensure even spacing, a measuring tape can be very useful.
Make a checklist of these tools before you begin. Some Graco baby beds come with a few specific tools required for assembly, so check the instruction manual carefully. It’s also wise to set up a spacious workspace to lay out all parts and move around comfortably during the assembly process.
Unboxing Your Graco Baby Bed
The first step is to unbox your Graco baby bed carefully. Lay out all the pieces on a soft surface to prevent scratches. As you remove each piece, check it against the provided list to ensure nothing is missing. Keep the packaging material till you complete the assembly in case you need to return any parts.
Inside the box, you’ll find all the components neatly packed. It typically includes the headboard and footboard, side rails, mattress support, and all the necessary hardware like screws, bolts and dowels. If your model comes with any extra features like storage drawers or a changing station, these will also be included.
Take a moment to familiarize yourself with the parts and hardware. This will save you time during the assembly process. Make sure you don’t rush this step. Proper identification of each part now can prevent confusion later on. If there are any labels or stickers on the parts, keep them in place until the bed is fully assembled.
Once you have everything laid out and accounted for, proceed to the next step with confidence. It’s time to start putting together your Graco baby bed.

Step 1: Laying Out Parts and Hardware
To begin assembling your Graco baby bed, organize all pieces and hardware. Lay everything on a clean, soft surface like a rug or blanket. This helps avoid scratches or damage to the parts. Start by laying out the larger components such as the headboard, footboard, and side rails. Follow with the smaller parts like the mattress support and any additional items like drawer sets or changing stations if your model includes them.
Next, sort out all the hardware. This includes screws, bolts, dowels, and any other fasteners that come with your Graco baby bed. Check each piece against the list provided to ensure you’re not missing anything. It’s a good idea to group similar hardware together. This makes it easier to find what you need as you move through the assembly steps. Don’t rush this stage. Taking time now to correctly identify and sort everything will save you time during the assembly.
Once you have all the parts and hardware laid out and accounted for, you’re ready to move on to the next stage. You should have a clear workspace and all the tools listed previously at hand. Remember to keep the labels on the parts until the bed is fully assembled. Having everything organized, you are now set to start building your Graco baby bed.
Step 2: Assembling the Base and Frame
Now, with all parts laid out, let’s start putting the base and frame together. Check the instruction manual for the specific Graco baby bed model you have. This step typically involves connecting the headboard and footboard to the side rails using the provided screws and bolts.
Make sure you place the headboard and footboard in the correct orientation. They often have specific sides that face out or connect to certain parts. Hold them steady as you align the side rails. Use the screws and bolts to attach each corner firmly.
Be careful not to over-tighten the screws as this can strip the threads or damage the wood. Once the four sides are secure, you should have a stable base for the baby bed. If the frame has any support bars, attach them according to the manual. Ensure they are tight and flush with the bed frame.
Once the base and frame are together, give them a gentle shake. This is to check for any wobbles or loose connections. If the frame moves too much, go back and tighten any loose connections. The base frame is now ready for the next step, where you’ll be adding the mattress support. Stay tuned for details on that in the next section of our guide.
Step 3: Attaching the Mattress Support
Now that the base and frame are in place, it’s time to attach the mattress support. This is where your Graco baby bed starts to take shape, providing a secure platform for your baby’s mattress.
First, locate the mattress support frame. It is usually a flat piece with multiple holes or slots. Compare it with the manual to ensure correct orientation. Then, position the mattress support inside the assembled frame. It should sit evenly within the bed’s borders.
Use the bolts or screws provided to secure the mattress support. Start at one corner and move diagonally to the opposite corner. This method helps distribute the weight evenly. Make sure each fastener is snug, but don’t over-tighten them. Over-tightening can warp the metal or crack the wood.
Once all corners are secured, check the support by pressing down gently. It should feel stable with no movement. If there is any give or wobble, re-tie the fasteners until the support is firm.
Proper attachment of the mattress support is critical for safety. It holds the mattress and, most importantly, your baby. Take extra care during this step to ensure everything is secure. A well-installed mattress support will make the Graco baby bed a safe haven for your little one.
Step 4: Securing the Side Rails
The next key step is to secure the side rails of your Graco baby bed. These rails ensure your baby’s safety by preventing them from rolling out of the bed.
- Identify the Rails: Start by identifying the side rails. These will be the longer pieces that run parallel to the mattress support.
- Align the Rails: Align the rails with the corresponding holes on the headboard and footboard. Ensuring the rails are facing the correct direction is crucial.
- Attach the Rails: Use the screws or bolts provided to attach each end of the side rails to the headboard and footboard. Start on one side and then move to the other.
- Secure Tightly: Fasten each screw or bolt firmly, checking to make sure that there is no wobbling or looseness. However, remember not to over-tighten to avoid damaging the wood or threads.
- Double-Check: Once you have attached both side rails, give them a careful examination. Make sure they are evenly attached and there’s no gap between the rails and the frame of the bed.
- Inspect for Safety: Examine the bed closely to ensure there are no sharp edges or points where your child could get hurt. The side rails should be smooth and flush with the frame.
Completing this step ensures that the structure of your Graco baby bed is sound and your child will sleep safely. After this stage, the bed will begin to look complete, and you will be one step closer to finishing the assembly process.
Step 5: Finishing Touches and Safety Checks
After securing the side rails, it’s time for the finishing touches and critical safety checks. These final steps are vital to ensure your Graco baby bed is safe and ready for your infant.
- Review All Connections: Go over all bolts and screws once more. Make sure every connection is tight and secure.
- Attach Extras: If your Graco baby bed comes with additional features like storage drawers or a changing station, attach them now according to the manual’s instructions.
- Smooth Edges: Feel around for any sharp edges or rough spots. Sand down or tighten any areas that could be hazardous to your baby.
- Safety Stickers: Place any safety stickers provided in visible areas. They offer important reminders and warnings for future reference.
- Final Inspection: Take a step back and inspect the bed from all angles. It should look even and stable. Look closely for any loose parts or misalignments.
- Test Stability: Gently shake the bed to ensure it doesn’t wobble. Press gently on the mattress support to test its strength.
- Adjust if Needed: If anything seems off, adjust it now. Tighten any loose sections and re-align any parts that are not fitting well.
Once you’ve completed these steps, your Graco baby bed assembly is finished. You can now place the mattress inside and dress it with bedding. But remember, it’s wise to conduct regular safety checks, even after the bed is in use. This ensures the bed remains a safe haven for your baby at all times.
By following each step with care, you’ve created a secure and welcoming space for your little one. Rest easy knowing that your attention to detail during the assembly process has contributed to your baby’s comfort and protection.
Maintenance and Care Tips for Your Graco Baby Bed
Keeping your Graco baby bed in top condition is essential for the safety and comfort of your little one. Here are some simple maintenance and care tips that every parent should follow:
- Regular Cleaning: Wipe the bed down with a damp cloth to remove dust and dirt. Use mild soap if needed, but avoid harsh chemicals.
- Check for Loose Parts: Every few weeks, inspect the bed for any loose screws or bolts, and tighten them as necessary.
- Avoid Moisture: Keep the bed away from damp areas to prevent wood warping or metal corrosion.
- Protect from Sunlight: Direct sunlight can fade the bed’s finish, so place it in a spot shielded from harsh rays.
- Follow Weight Limits: Adhere to the weight recommendations provided by Graco to ensure the bed’s longevity and your baby’s safety.
- Use Proper Bedding: Select the right mattress size and bedding that fits snugly to avoid gaps or bunching.
- No Alterations: Do not modify the bed. Modifications can compromise the bed’s design and safety.
- Review Safety Standards: Familiarize yourself with current safety standards and ensure your Graco bed complies.
- Replacement Parts: If a part is damaged, contact Graco customer service for the correct replacement.
By following these tips, you will extend the life of your Graco baby bed and keep it a safe, cozy place for your baby to rest.