Introduction
Painting metal outdoor furniture is a fantastic way to refresh its appearance and extend its lifespan. Whether you’re looking to update the color or protect against rust and corrosion, proper preparation and technique are essential for a successful paint job. In this comprehensive guide, we’ll walk you through the step-by-step process of painting metal outdoor furniture, from surface preparation to finishing touches.
Choosing the Right Paint
Before you start painting, it’s crucial to select the right type of paint for your metal outdoor furniture. Look for a high-quality, rust-inhibiting metal paint that is specifically formulated for outdoor use. Oil-based enamel paints are often recommended for their durability and weather resistance. Additionally, consider the color and finish you desire, whether it’s a glossy, satin, or matte finish.

Gathering Supplies
Once you’ve chosen your paint, gather all the necessary supplies for the project. You’ll need paintbrushes or rollers, sandpaper or a wire brush, painter’s tape, drop cloths or newspaper to protect surrounding surfaces, and a respirator mask to protect against fumes. Depending on the condition of the furniture, you may also need rust remover, primer, and metal primer.
Preparing the Surface
Proper surface preparation is essential for a smooth and long-lasting paint finish. Start by removing any existing paint or rust from the metal surface. Use sandpaper, a wire brush, or a chemical rust remover to strip away old paint and rust. Sand the surface lightly to create a rough texture that will help the new paint adhere. Wipe down the surface with a damp cloth to remove any dust or debris.

Cleaning the Surface
After removing the old paint and rust, thoroughly clean the metal surface to remove dirt, grease, and other contaminants. Use a mild detergent or degreaser and water to scrub the surface clean. Rinse with water and allow the furniture to dry completely before proceeding with the painting process. Proper cleaning will ensure better paint adhesion and a smoother finish.
Protecting Surrounding Surfaces
Before you begin painting, take steps to protect surrounding surfaces from overspray and paint drips. Cover nearby plants, grass, and other outdoor elements with drop cloths or newspaper. Use painter’s tape to mask off any areas of the furniture that you don’t want to paint, such as hardware or decorative accents.

Priming the Surface
For optimal paint adhesion and durability, it’s recommended to apply a primer before painting metal outdoor furniture. Choose a high-quality metal primer that is compatible with your chosen paint. Apply the primer evenly to the metal surface using a paintbrush or roller, following the manufacturer’s instructions. Allow the primer to dry completely before proceeding to the next step.
Applying the Paint
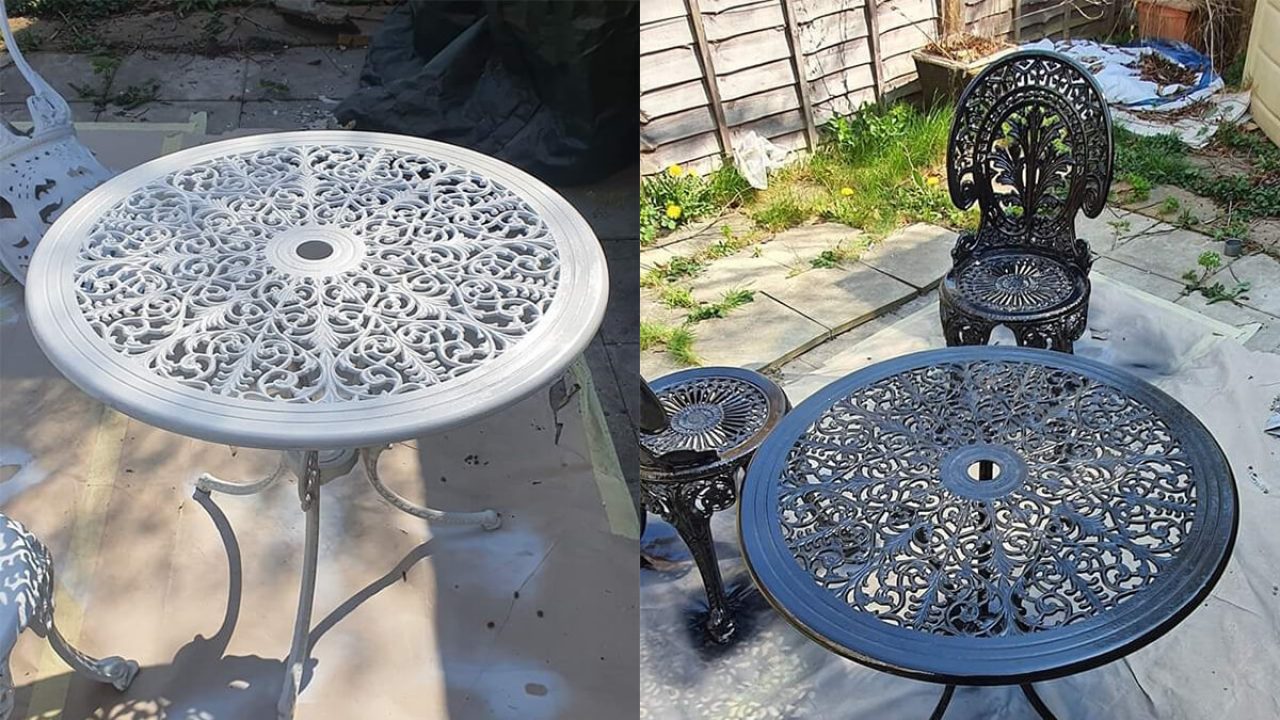
Once the primer is dry, it’s time to apply the paint to your metal outdoor furniture. Stir the paint thoroughly before use to ensure a consistent color and texture. Use a paintbrush or roller to apply the paint evenly to the metal surface, working in long, smooth strokes. Be sure to cover the entire surface, including any crevices or hard-to-reach areas. Apply multiple thin coats of paint for best results, allowing each coat to dry completely before applying the next.

Adding Decorative Accents
If desired, you can add decorative accents or details to your painted metal outdoor furniture. Consider using stencils, masking tape, or freehand techniques to create patterns, designs, or stripes. Use contrasting colors or metallic paints to add visual interest and personality to your furniture. Take your time and have fun experimenting with different techniques to achieve the look you desire.
Sealing the Paint
Once the paint has dried completely, consider applying a clear sealer or topcoat to protect the finish and enhance durability. Choose a sealer that is compatible with your chosen paint and follow the manufacturer’s instructions for application. Apply the sealer evenly to the painted surface using a paintbrush or roller, and allow it to dry completely before using the furniture.

Maintaining Your Painted Furniture
To ensure your painted metal outdoor furniture remains looking its best, proper maintenance is key. Regularly inspect the furniture for any signs of wear, chipping, or peeling paint, and touch up as needed. Clean the furniture periodically with mild soap and water to remove dirt, dust, and other debris. Avoid using abrasive cleaners or harsh chemicals, as they can damage the paint finish. With proper care and maintenance, your painted metal outdoor furniture will continue to enhance your outdoor space for years to come.
Choosing Colors and Finishes
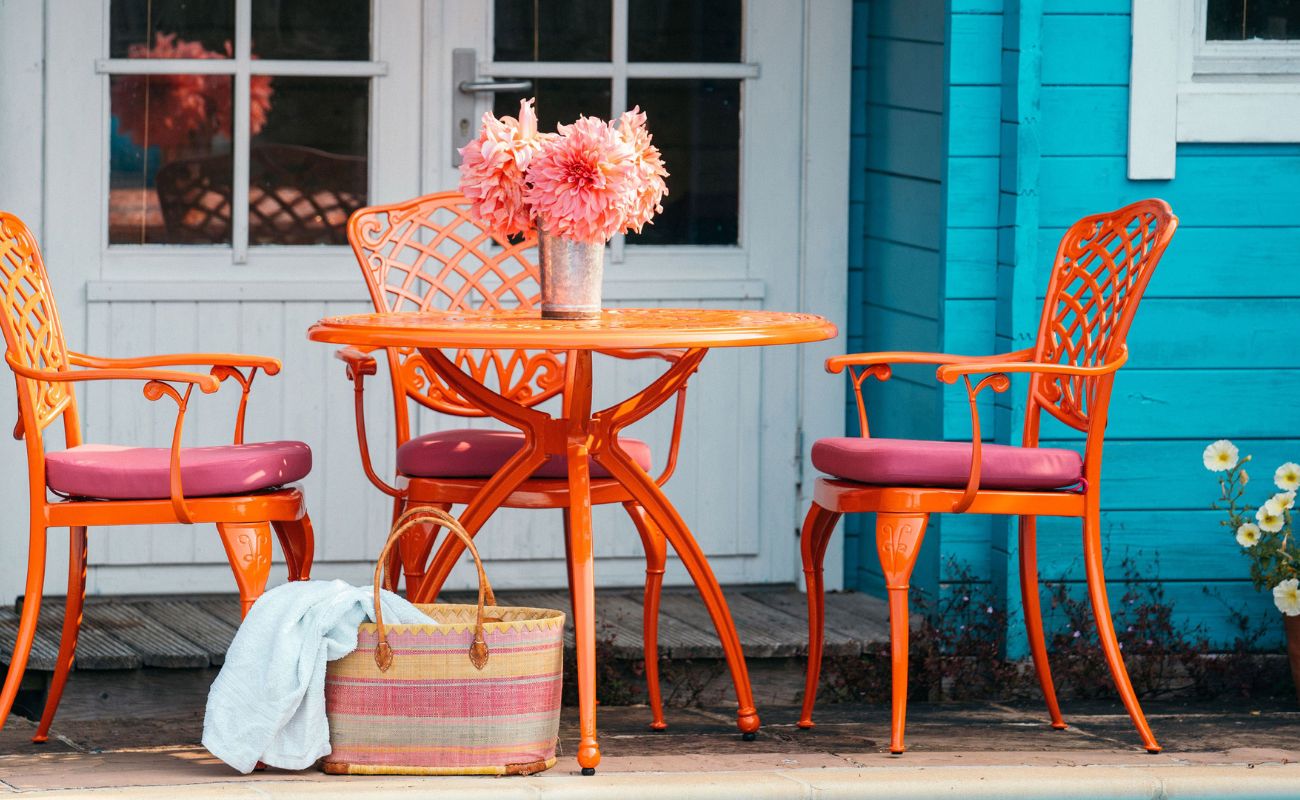
Selecting the right colors and finishes for your painted metal outdoor furniture is crucial for achieving the desired aesthetic and ensuring durability. Consider the overall style and color scheme of your outdoor space, as well as your personal preferences. Bright, vibrant colors can add a pop of personality and create a focal point in your outdoor area, while neutral tones offer a timeless and versatile look. Additionally, choose a finish that complements your design aesthetic and provides the level of sheen you desire, whether it’s glossy, satin, or matte.
Preventing Rust and Corrosion
To protect your newly painted metal outdoor furniture from rust and corrosion, it’s important to take proactive measures. Consider applying a rust-inhibiting primer before painting, especially if the furniture will be exposed to moisture or harsh weather conditions. Additionally, regularly inspect the furniture for any signs of rust or corrosion, and address them promptly by sanding the affected areas and applying touch-up paint. Avoid placing metal furniture directly on damp surfaces or allowing water to accumulate on the surface, as this can promote rust formation.
Conclusion
Painting metal outdoor furniture is a rewarding DIY project that can breathe new life into old pieces and transform the look of your outdoor space. By following the steps outlined in this guide and using the right materials and techniques, you can achieve professional-looking results that will stand up to the elements and provide years of enjoyment. So gather your supplies, roll up your sleeves, and get ready to unleash your creativity on your metal outdoor furniture—it’s time to give it a fresh new look!