Introduction: The Journey of Crib Assembly
Embarking on the journey of assembling a crib can be both exciting and daunting, especially when faced with a manual full of instructions and diagrams. Among the myriad of options available, IKEA cribs stand out for their affordability, functionality, and sleek design. In this guide, we will navigate through the process of assembling an IKEA crib with ease, ensuring a safe and comfortable sleeping space for your little one.

Understanding the Instructions: Deciphering the Manual
Before diving into assembly, take a moment to familiarize yourself with the instructions provided by IKEA. While the manual may seem intimidating at first glance, breaking it down into manageable steps can make the process much more straightforward. Pay close attention to diagrams, labels, and written instructions to ensure you understand each component and its corresponding placement.
Gathering the Tools: Equipping Yourself for Success
To streamline the assembly process, gather all the necessary tools and materials before you begin. Typically, IKEA cribs require basic household tools such as screwdrivers, Allen keys, and a hammer. Ensure that you have these tools on hand and organize them in a designated workspace to prevent unnecessary interruptions during assembly. Additionally, double-check that all components and hardware are included in the packaging to avoid any delays or complications later on.
Preparing the Workspace: Clearing the Path for Progress
Create a spacious and clutter-free workspace where you can spread out the crib components and move freely during assembly. Choose a flat and stable surface, such as a clean floor or large table, and lay down a soft blanket or towel to protect the crib parts from scratches or damage. Arrange the components in the order specified in the manual, making it easier to locate and assemble each piece as you progress through the instructions.
Following a Systematic Approach: Step-by-Step Assembly Guide
With your workspace prepared and tools at the ready, it’s time to begin assembling the crib. Follow these step-by-step instructions for a smooth and efficient assembly process:
- Start by identifying the main components of the crib, including the headboard, footboard, side rails, and mattress support frame.
- Assemble the crib frame according to the instructions provided, ensuring that all screws and bolts are securely tightened.
- Attach the mattress support frame to the crib frame, following the designated attachment points and ensuring proper alignment.
- Install the side rails onto the crib frame, taking care to secure them firmly in place to prevent wobbling or shifting.
- Double-check all connections and fastenings to ensure they are secure and stable before placing the mattress inside the crib.

Ensuring Safety: Prioritizing Your Child’s Well-being
Throughout the assembly process, prioritize safety above all else to create a secure sleeping environment for your child. Pay attention to warning labels, weight limits, and recommended assembly techniques outlined in the IKEA manual. Avoid using makeshift solutions or modifying crib components in any way, as this can compromise the crib’s structural integrity and pose a risk to your child’s safety.
Final Touches: Adding Personalized Flourishes
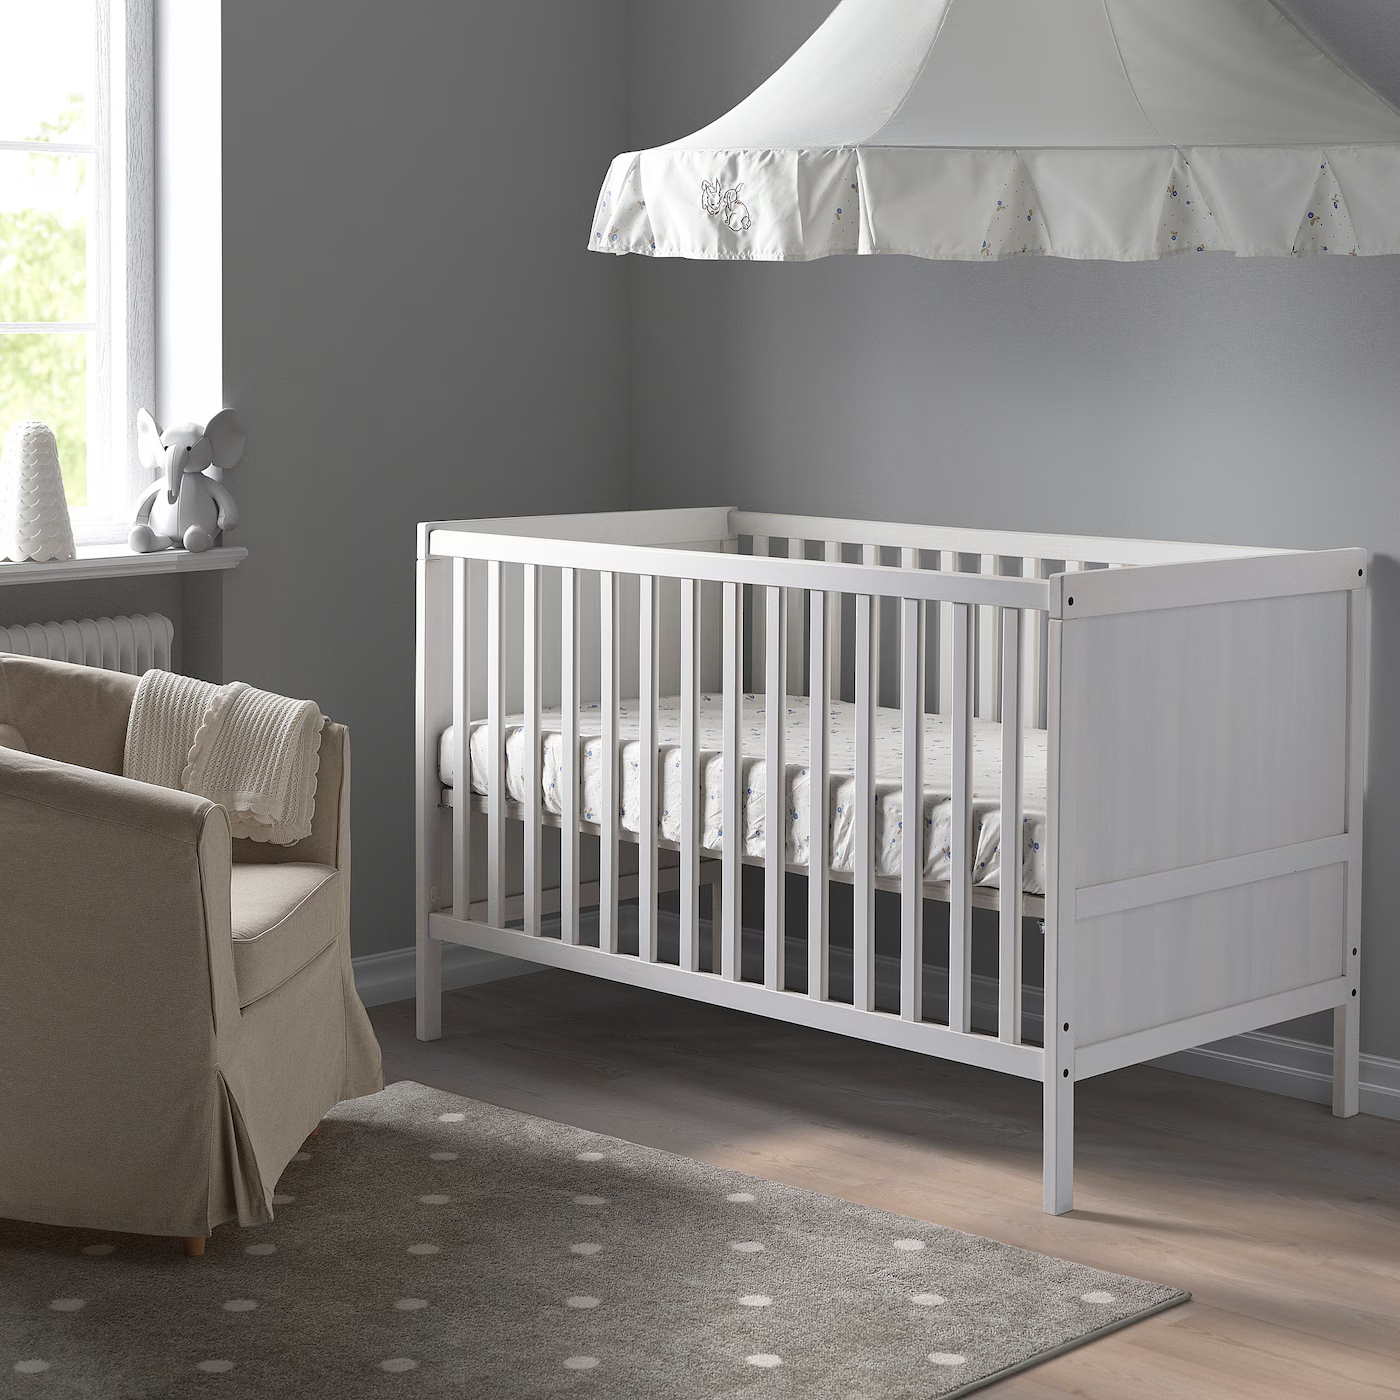
Once the crib is assembled and safety-checked, take a moment to add personalized touches to make it feel like home for your little one. Consider decorating the crib with soft bedding, plush toys, and a cozy blanket to create a welcoming and comfortable sleeping space. Be mindful of safety guidelines when selecting bedding and accessories, opting for breathable materials and avoiding loose items that could pose a suffocation hazard.

Troubleshooting Tips: Overcoming Common Challenges
Despite your best efforts, you may encounter some challenges during the crib assembly process. Here are some troubleshooting tips to help you overcome common obstacles:
- Difficulty Aligning Screw Holes: If you’re having trouble aligning screw holes during assembly, try partially tightening the screws in adjacent holes first before fully tightening them. This can help align the components and make it easier to insert the remaining screws.
- Missing Hardware: In the event that you discover missing hardware or components, don’t panic. Check the packaging thoroughly, including any additional compartments or hidden pockets, to ensure that all parts have been accounted for. If necessary, contact IKEA customer service for assistance in obtaining replacement hardware.
- Uneven Frame: If you notice that the crib frame is uneven or wobbly after assembly, double-check that all components are securely fastened and tightened. Adjust the alignment of the frame and side rails as needed, ensuring that they are flush and level before continuing with assembly.
- Difficulty Attaching Side Rails: Attaching the side rails to the crib frame can sometimes be tricky, especially if the holes don’t line up perfectly. Use gentle pressure and wiggle the rails slightly to find the optimal position for insertion. If necessary, enlist the help of a second person to hold the rails in place while you secure them to the frame.
- Uneven Mattress Support: If the mattress support frame appears uneven or misaligned, double-check that all bolts and brackets are properly installed and tightened. Adjust the position of the support frame as needed to ensure that it sits level and flush against the crib frame.
By addressing these common challenges with patience and persistence, you can overcome any obstacles encountered during the crib assembly process and ensure a successful outcome.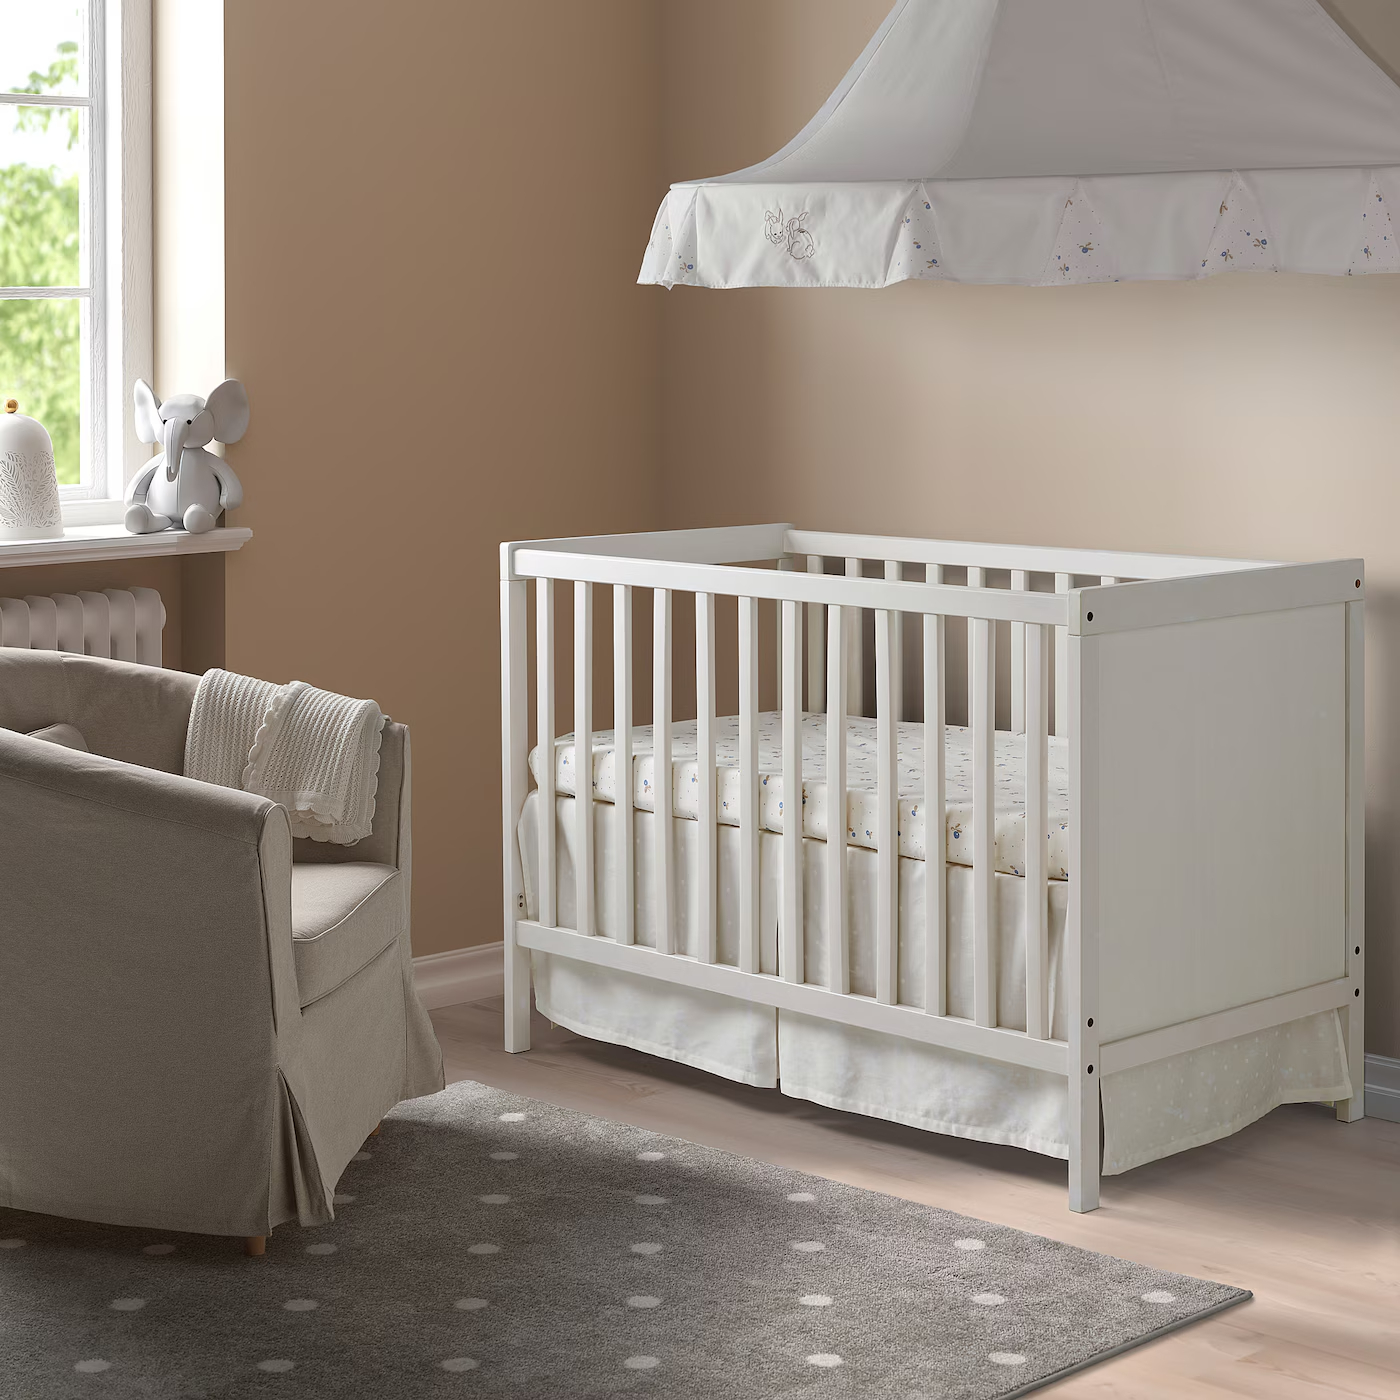
Seeking Professional Assistance: When to Call for Help
In some cases, you may encounter issues during crib assembly that require professional assistance. If you feel overwhelmed or unsure about any aspect of the assembly process, don’t hesitate to seek help from a qualified professional or IKEA assembly service. Trained technicians can provide expert guidance and assistance to ensure that your crib is assembled safely and securely, giving you peace of mind and confidence in the final product.
Conclusion: Embracing the Joy of Crib Assembly
As you complete the assembly of your IKEA crib, take pride in the accomplishment of creating a safe and comfortable sleeping space for your child. By following the instructions provided with care and attention to detail, you’ve ensured that your little one will slumber soundly in a crib crafted with love and dedication. Embrace the joy of parenthood, and savor the moments of anticipation as you prepare for the arrival of your precious bundle of joy. With your IKEA crib assembled and ready for use, you can rest assured that your child will sleep soundly, surrounded by comfort and security.