Introduction: Embracing Creativity for Your Baby’s Sleep
Welcoming a new member into the family is a joyous occasion filled with anticipation and excitement. As parents, ensuring our little ones have a safe and comfortable sleep environment is paramount. One essential element of a cozy crib is a bumper, providing cushioning and protection. In this guide, we’ll explore the art of crafting a DIY crib bumper, allowing you to personalize your baby’s sleep space with love and creativity.

Understanding the Importance of a Crib Bumper
Before delving into the DIY process, it’s crucial to understand why a crib bumper is an essential addition to your baby’s sleep environment. A well-made bumper helps prevent your baby’s limbs from getting caught between crib slats, reduces the risk of head bumps, and creates a snug, comforting space for peaceful sleep. By crafting your own bumper, you have full control over the materials used, ensuring safety and peace of mind.
Gathering Materials and Tools
To embark on this DIY adventure, gather the necessary materials and tools. You’ll need soft, breathable fabric such as cotton or flannel for the bumper exterior, along with batting or foam for padding. Additionally, acquire coordinating thread, scissors, pins, a measuring tape, and a sewing machine. Choosing quality materials is essential for durability and comfort, so select fabrics that are gentle on your baby’s delicate skin.
Measuring and Planning
Before cutting into your fabric, carefully measure the dimensions of your crib to determine the required length and height for the bumper. Keep in mind safety guidelines, ensuring the bumper’s height does not exceed 16 inches to prevent climbing. Sketch out a plan, noting any seams or embellishments you wish to incorporate. Planning ahead will streamline the crafting process and result in a polished final product.
Cutting and Piecing Together
With measurements in hand, it’s time to cut your fabric according to your plan. Lay out the fabric flat and use a measuring tape and fabric marker to outline the bumper’s panels. Cut carefully along the lines, taking care to maintain straight edges. Once the panels are cut, begin piecing them together, pinning along the edges to ensure they align perfectly. This step requires patience and precision to achieve professional-looking results.
Sewing with Care and Precision
Now comes the sewing stage, where attention to detail is key. Set up your sewing machine with coordinating thread and select a straight stitch for sturdy seams. Begin by sewing the bumper panels together, leaving one side open for stuffing. Take your time to sew along the edges evenly, reinforcing the corners for added durability. Once the panels are joined, carefully turn the bumper right-side-out and press with an iron for crisp, clean lines.

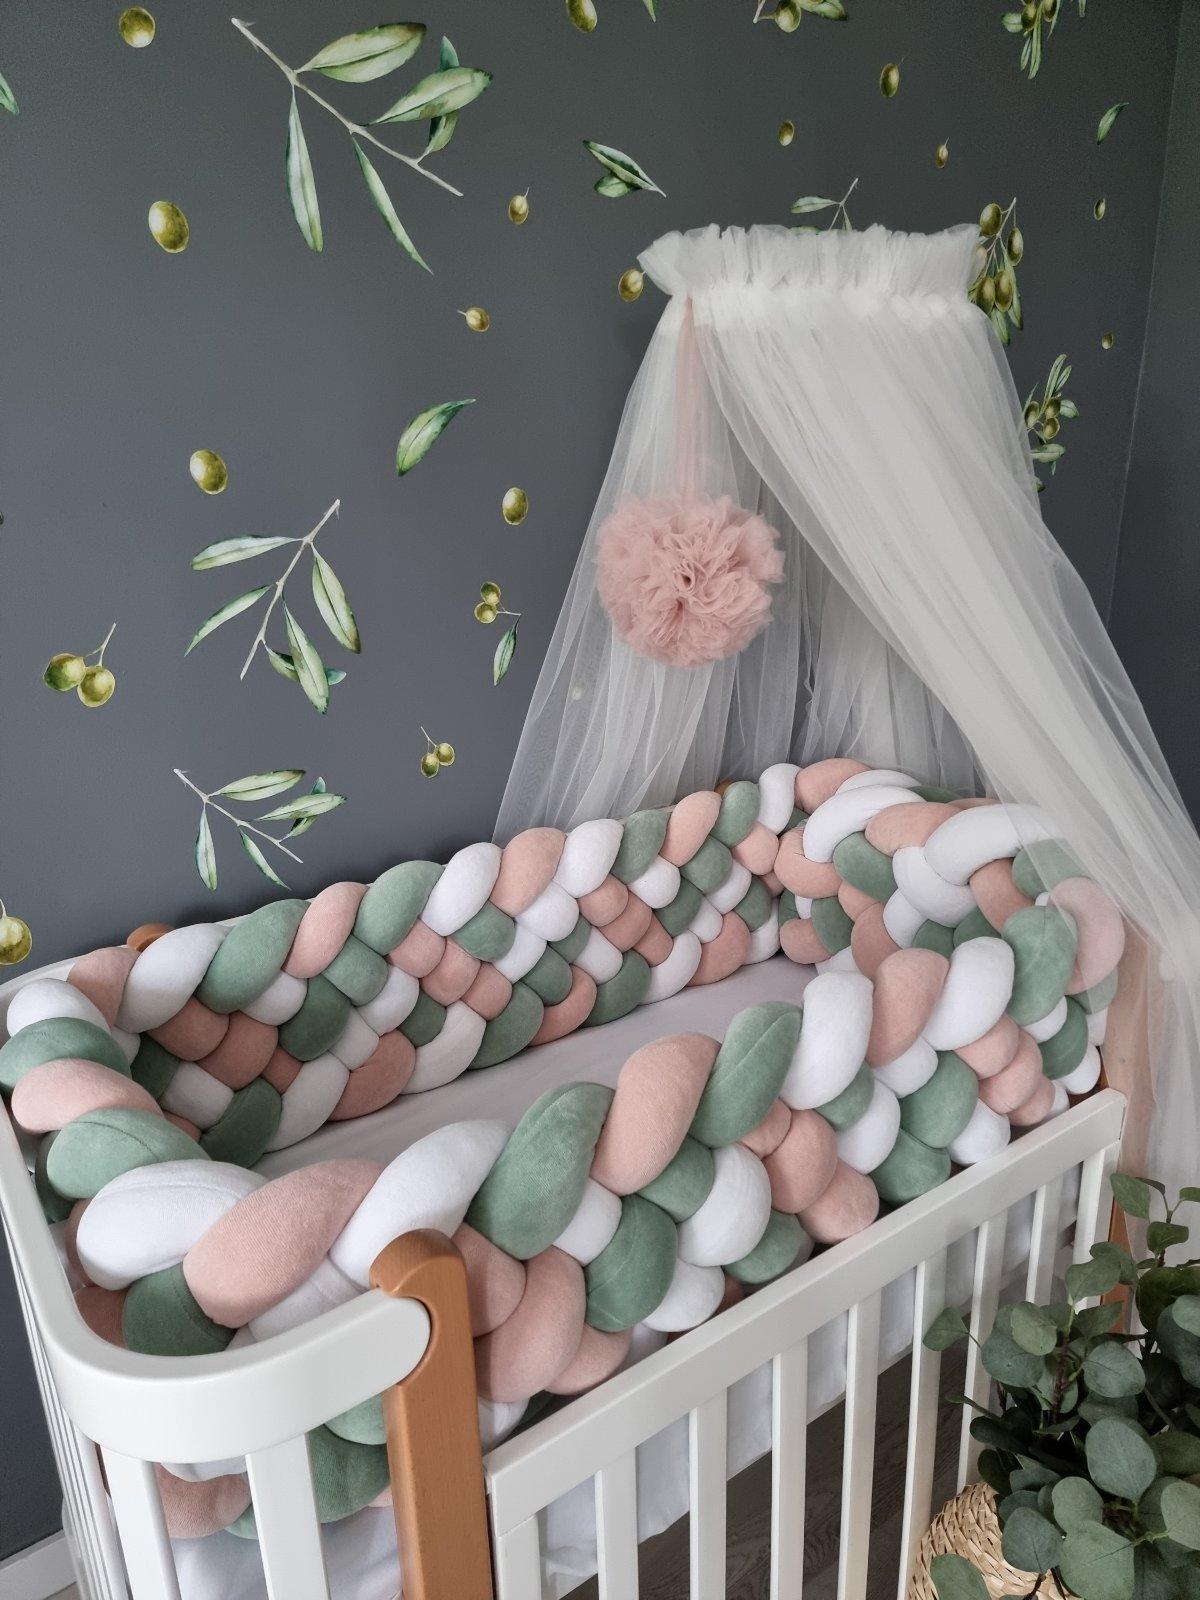
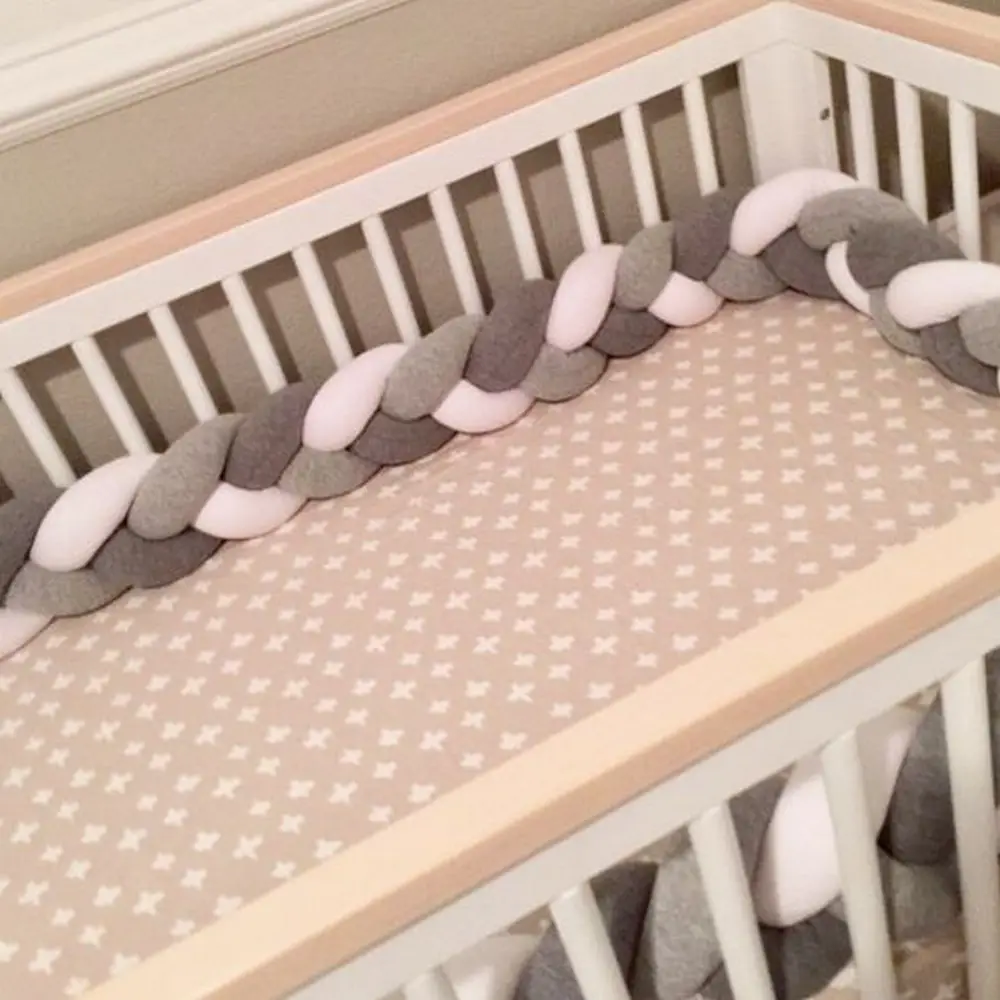
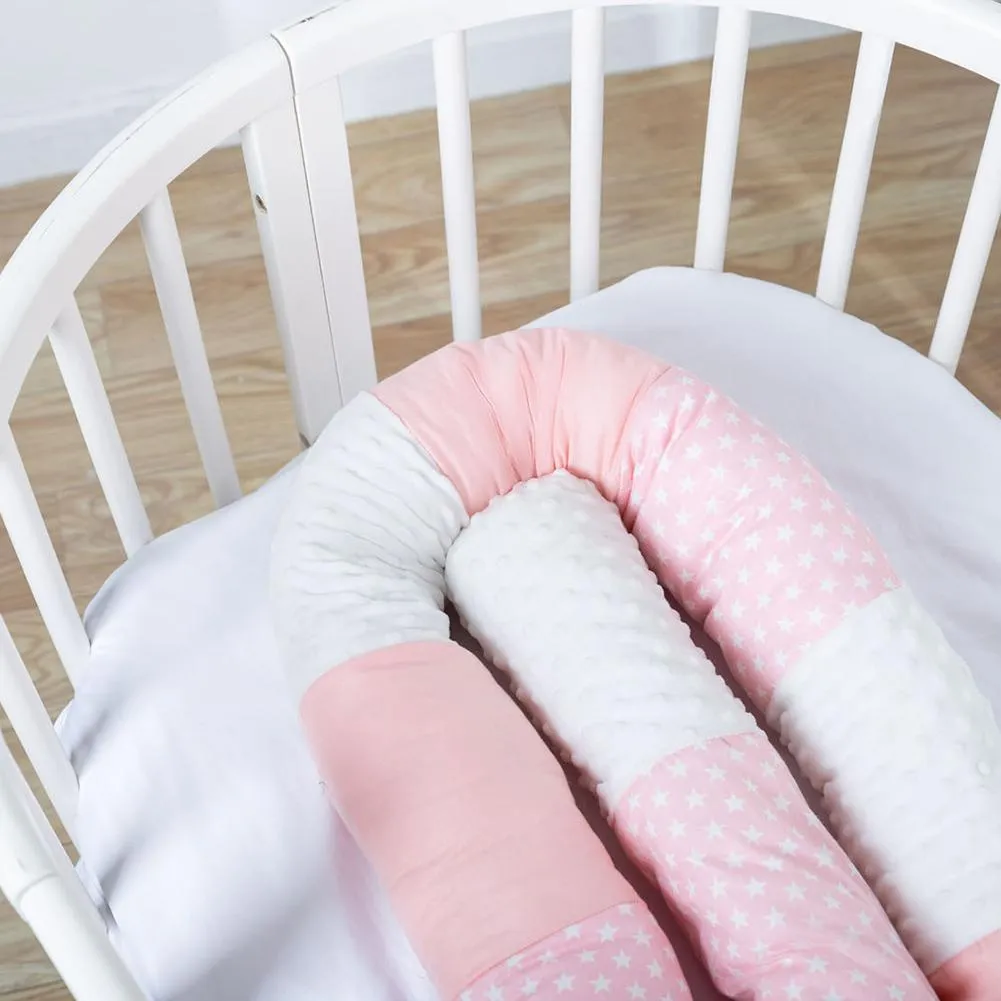
Adding Padding and Finishing Touches
With the bumper exterior complete, it’s time to add padding for plushness and protection. Cut batting or foam to fit the interior dimensions of the bumper, ensuring a snug, even fill. Insert the padding through the open side, distributing it evenly along the length of the bumper. Once stuffed to your satisfaction, neatly hand-stitch the opening closed using a ladder stitch for an invisible seam. Finally, add any embellishments or decorative elements to personalize your creation.
Safety First: Installing and Maintaining Your DIY Crib Bumper
Before placing your handmade bumper in the crib, ensure it fits snugly without gaps or loose ends that could pose a safety hazard. Secure the bumper firmly to the crib rails using ties or Velcro strips, ensuring it remains in place during use. Regularly inspect the bumper for signs of wear or damage, and remove it once your baby begins to pull up or stand to prevent climbing accidents. With proper installation and maintenance, your DIY crib bumper will provide comfort and peace of mind for years to come.
Exploring Safety Guidelines: Ensuring a Secure Sleep Environment
As you embark on the journey of creating a DIY crib bumper, it’s essential to prioritize safety at every step of the process. While bumper pads can enhance the aesthetics of the crib and provide a cozy environment for your baby, it’s crucial to adhere to safety guidelines to minimize any potential risks.
Understanding Safety Recommendations
Safety recommendations regarding crib bumpers have evolved over the years as experts have gained a deeper understanding of potential hazards. Organizations such as the American Academy of Pediatrics (AAP) advise against the use of traditional crib bumpers due to concerns about suffocation, entrapment, and strangulation hazards. Instead, they recommend maintaining a bare crib with a firm mattress and fitted sheet to reduce the risk of Sudden Infant Death Syndrome (SIDS) and other sleep-related accidents.

Exploring Alternatives
In light of these recommendations, many parents opt for safer alternatives to traditional crib bumpers. Breathable mesh liners provide some cushioning while allowing for airflow, reducing the risk of suffocation. Additionally, strategically placed individual pads or rolls can protect against limb entrapment without covering the entire crib perimeter.
Customizing for Safety and Comfort
If you choose to craft a DIY crib bumper, consider customizing it with safety in mind. Ensure the bumper fits securely against the crib rails without sagging or coming loose, minimizing the risk of entrapment. Use breathable fabrics and padding materials to promote airflow and reduce the risk of suffocation. Avoid attaching any embellishments or decorations that could become detached and pose a choking hazard.
Educating Yourself on Safe Sleep Practices
Beyond crib bumpers, familiarize yourself with other safe sleep practices recommended by pediatric experts. Always place your baby on their back to sleep, on a firm mattress with no soft bedding or toys that could pose a suffocation risk. Keep the crib free of loose blankets, pillows, and stuffed animals until your baby is older and can safely use them.
Conclusion: Crafting Love and Comfort for Your Little One
In the journey of parenthood, every decision we make is driven by love and a desire to provide the best for our children. By crafting a DIY crib bumper for your little one’s sleep space, you’re not only creating a cozy haven for sweet dreams but also infusing every stitch with love and care. Embrace your creativity, enjoy the process, and cherish the moments spent crafting comfort for your precious bundle of joy. Sweet dreams await in the loving embrace of your handmade masterpiece.